Build and deploy an XMTP Bot
This guide will take you through the steps to create and deploy a simple bot using the BotKit package.
Step 1: Installation
First, install the necessary CLI tool globally using npm:
npx create-xmtp-bot <bot-name>
cd <bot-name>
Configuration
Set your private key and network environment in the .env file:
KEY= # your bot's private key
XMTP_ENV= # production or dev network
Building and Running Your Bot
Install dependencies and run your bot:
# For development with hot-reload
yarn build:watch
yarn start:watch
Step 2: Understanding the index.ts File
The index.ts file contains the main logic for your bot:
import "dotenv/config";
import { run, HandlerContext } from "@xmtp/botkit";

const inMemoryCacheStep = new Map<string, number>();

run(async (context: HandlerContext) => {
  const { content, senderAddress } = context.message;
  const lowerContent = content.toLowerCase();

  if (
    ["stop", "unsubscribe", "cancel", "list"].some((word) =>
      lowerContent.includes(word),
    )
  ) {
    inMemoryCacheStep.set(senderAddress, 0);
    await context.reply(
      "You are now unsubscribed. You will no longer receive updates!",
    );
  }

  const cacheStep = inMemoryCacheStep.get(senderAddress) || 0;
  let message = "";

  switch (cacheStep) {
    case 0:
      message = "Welcome! Choose an option:\n1. Info\n2. Subscribe";
      inMemoryCacheStep.set(senderAddress, 1);
      break;
    case 1:
      if (content === "1") {
        message = "Here is the info.";
      } else if (content === "2") {
        message =
          "You are now subscribed. You will receive updates. Type 'stop' to unsubscribe.";
        inMemoryCacheStep.set(senderAddress, 0);
      } else {
        message = "Invalid option. Please choose 1 for Info or 2 to Subscribe.";
      }
      break;
    default:
      message = "Invalid option. Please start again.";
      inMemoryCacheStep.set(senderAddress, 0);
      break;
  }

  await context.reply(message);
});
This script listens for messages and sends a options like showing info and subscribing logic.
Examples
Explore different types of bots:
- Gm: A basic greeting bot.
- Conversational: Engage users with ongoing conversations and redis subscription
- GPT: Utilize OpenAI APIs for dynamic responses.
Find more examples in the Awesome XMTP ⭐️ repository.
Step 3: Deploy with Railway
Sign Up and Setup: Create an account at Railway and start a new empty project.
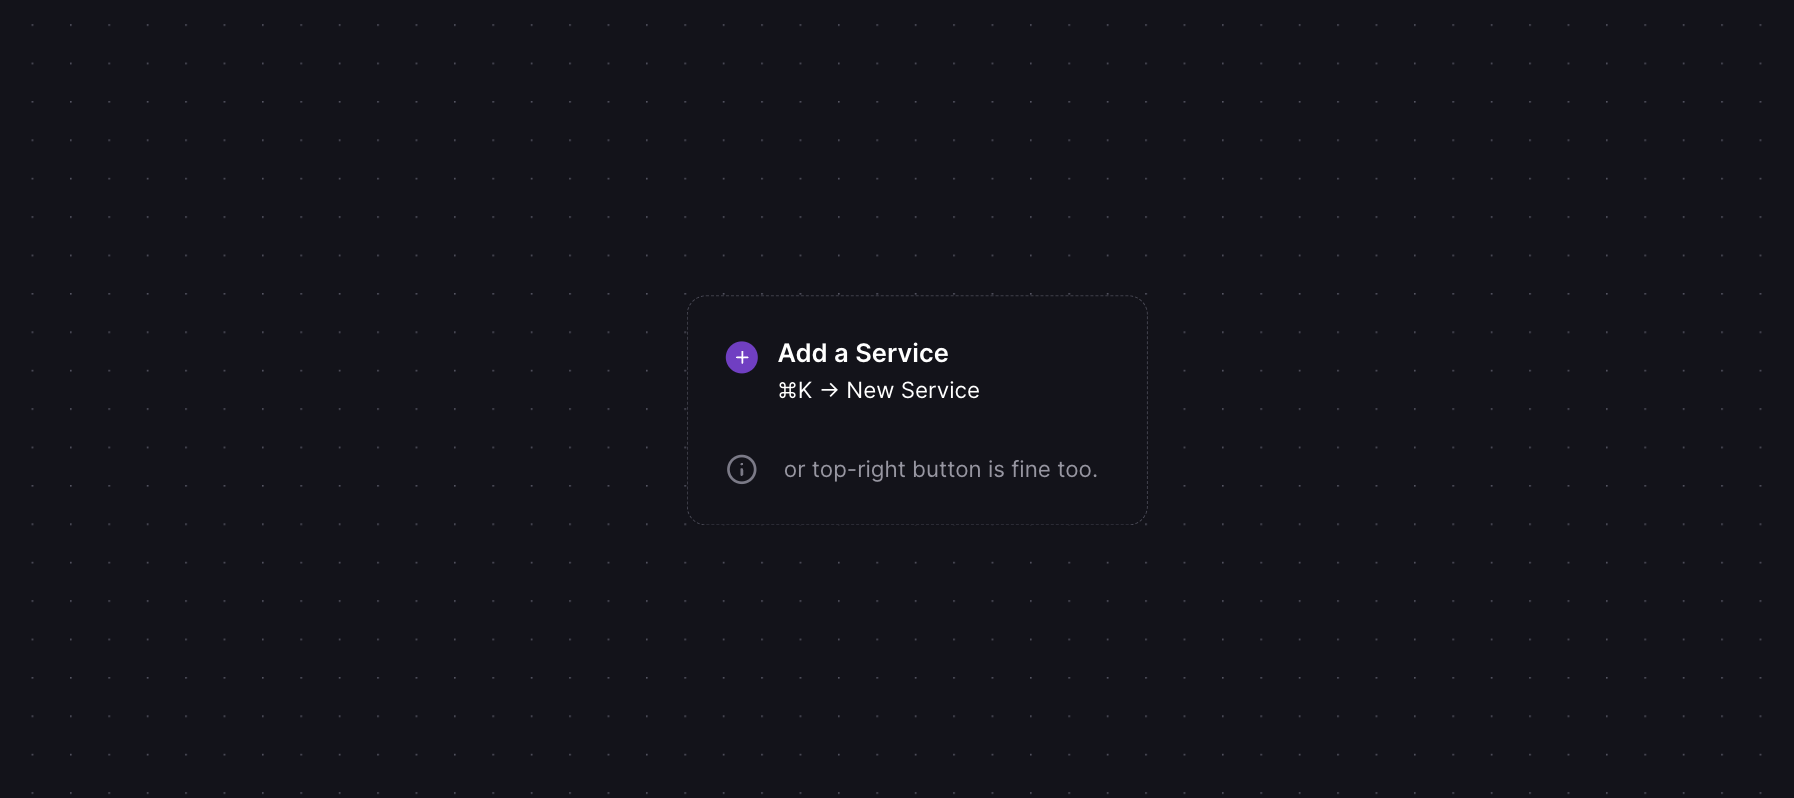
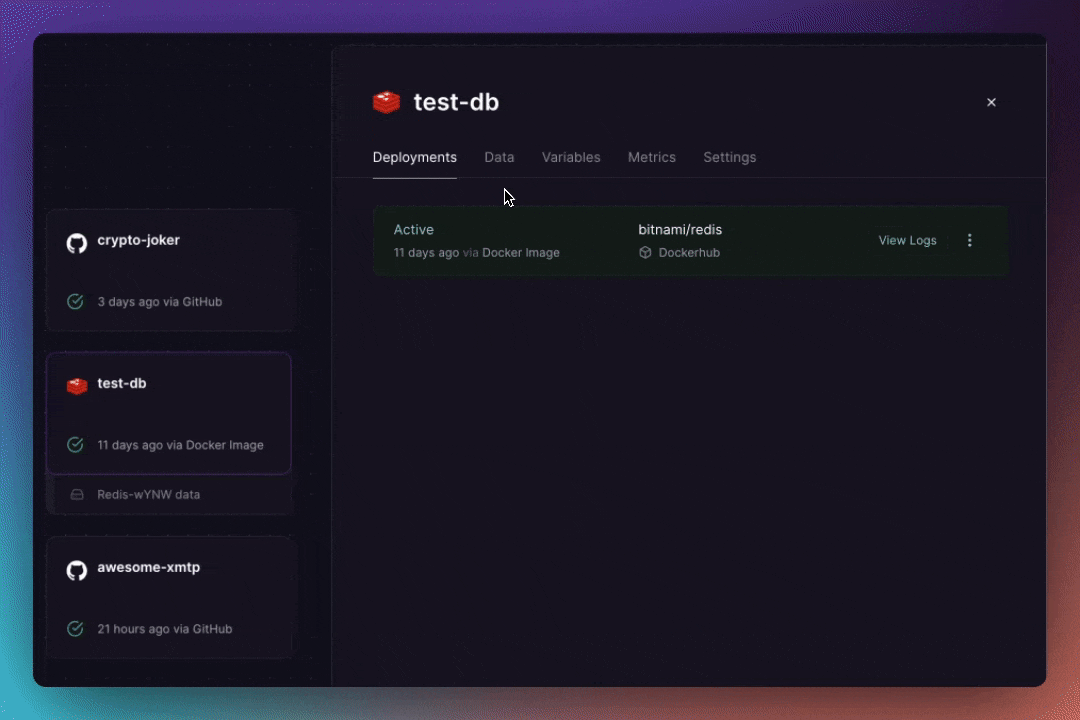
Database (Optional): Optionally, Right click to add a Redis database to your project.
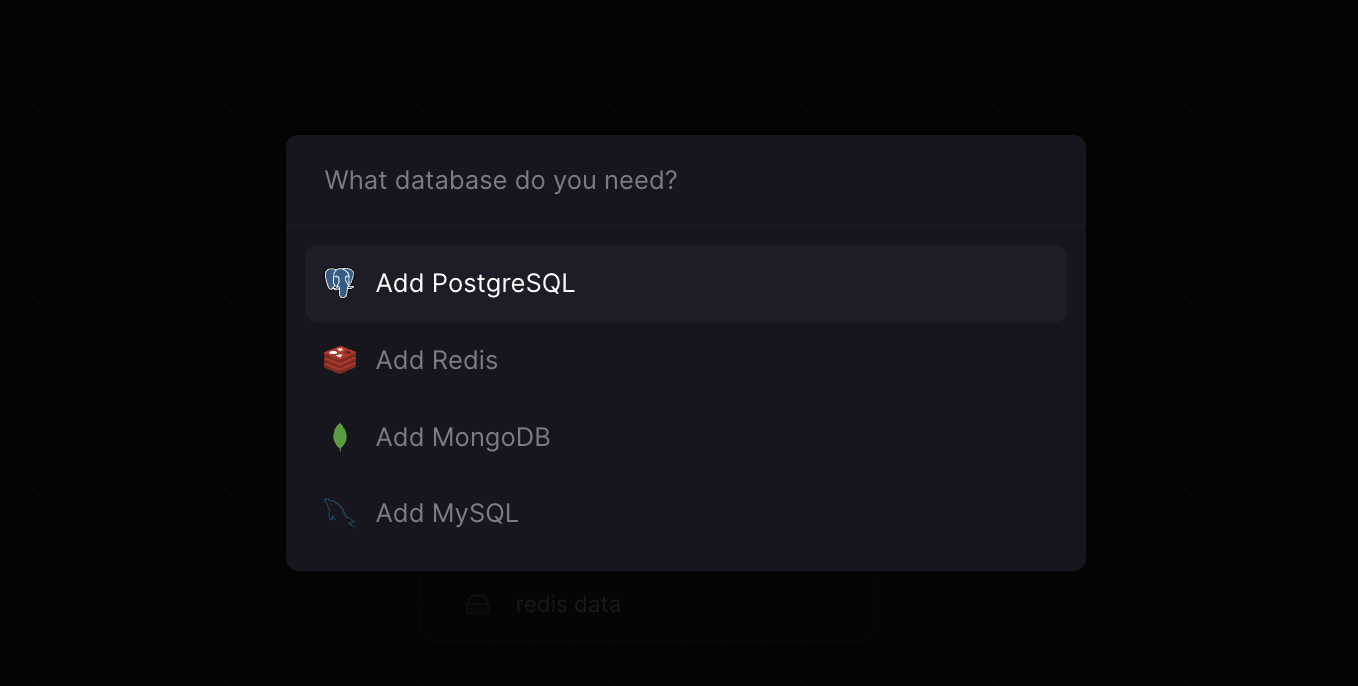
Get the redis connection string
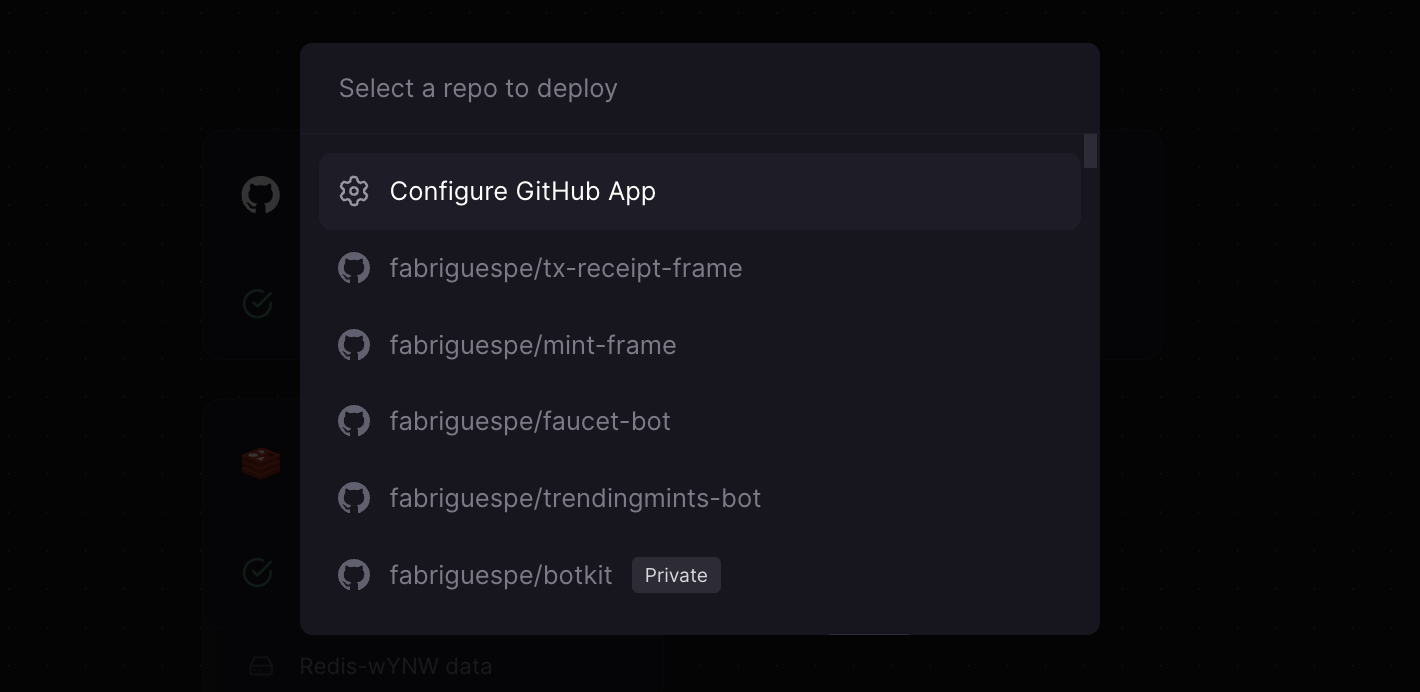
Repository: Connect your GitHub repository where your bot code resides and deploy the repo.
Environment Variables: Set up environment variables in Railway.
Step 4: Register an ENS Domain
Enhance your bot's identity by registering an ENS domain.
